1. Before First Use & Initial Setup
Before brewing your first cup, it is important to understand how your Semi-Automatic Espresso Machine arrives from the factory and how to prime its internal components.
 |
1. Factory Settings Notice
|
2. Initial Setup & Priming Cycle
Can you use this machine directly for the first time? Yes, but it is highly recommended to perform a quick initial priming cycle to flush out manufacturing and packaging residues.
Unpack & Prep the Water Tank:
CRITICAL CAUTION: You must remove the yellow plug located at the bottom of the water tank before use. If skipped, the water tank will not feed water, and the low water warning icon will illuminate.
- Fill the Tank: Fill the 1.0L water tank with fresh, room-temperature drinking water past the minimum line to prevent the low-water indicator from buzzing. Make sure it does not exceed the "MAX" mark.
- Install Components: Insert the drip tray, water tank, and milk container. Push firmly until you hear a distinct "click", confirming they are securely locked in.
- Insert the Brewing Unit: Place the brewing unit into the right-side brew chamber and press down the tamping lever.
- Power On & Thermal Preheating: Plug in the power cord and press the Power button. The advanced PID and NTC thermal system will begin an initial 40-second preheating cycle, during which the machine icon blinks. Once the indicator light stops blinking and remains steady, the system is safe and ready to brew.
- Flush the System: Place a cup under the brewing unit spout and insert the steam wand into the cup. Run the Hot Water and Milk Froth functions in sequence (repeat this several times) to clear out the internal piping.
- Final Rinse: After flushing, remove and rinse the brewing unit under the tap. Your machine is now ready!

Water Selection Guide
Best Choice: Use filtered tap water or still mineral water with moderate hardness. Balanced mineral content protects flavor and minimizes limescale.
Avoid: Distilled or demineralized water (leads to flat-tasting coffee), sparkling water (contains CO 2), or highly hard tap water (causes severe scale buildup).
3. Customizing Your Grind & Dosage Settings
To get the perfect professional-quality extraction, you must actively adjust the grind size and timing based on the roast level and freshness of your coffee beans.
1. Adjusting the 6-Gear Conical Burr Grinder
The built-in conical burr grinder produces uniform particles while generating minimal heat, preserving the coffee's natural aroma.
- Turn the dial toward "-" for a coarser grind.
- Turn the dial toward "+" for a finer grind.

2. Adjusting the Ground Coffee Quantity (Targeting the Ideal 13g Dose)
For optimal espresso extraction, the recommended coffee dose is approximately 13 grams. Because different beans vary in density, you can fine-tune the grinding duration:

|
Quick Customization: Long-press the "Grind" button to automatically set a new default duration based on your preference. Precise Adjustment Mode: In standby mode, press and hold the "Grinding" and "Power" buttons together for 3 seconds. You will hear a "beep". Press the "Espresso" button to decrease grinding time or the "Lungo" button to increase it. Each press changes the time by 0.5 seconds (up to a maximum of 60 seconds). Tap the "Grinding" button once to confirm, and tap again to start. The machine will remember this setting. |
4. Step-by-Step Coffee Making Guide
Step 1: Grinding
Place the brewing unit funnel on top of the brewing unit, position it under the grinder on the left, and tap the Coffee Grinding button.
Pro Tip: After grinding, lightly tap the left side of the machine so any remaining loose grounds fall into the brewing unit. Remove the unit and funnel, then shake it gently to distribute the powder evenly.
Step 2: Tamping
Insert the brewing unit into the right-side brew chamber and press down the coffee tamping lever. When compressed correctly, you will feel distinct pressure and hear a "click."
Step 3: Setting Up Milk (For Lattes & Cappuccinos)
Press the side button on the milk container lid to remove it, fill it with whole milk, and lock it back in place.
Insert the milk container assembly at a slight angle into the right side port until it clicks, then rotate it into place.
Use the top knob to adjust foam volume (Left for less foam, Right for more foam). Ensure the milk container rod extends into your cup.
Step 4: Brewing
Place your cup on the drip tray directly below the spout and tap your desired beverage program. The machine’s thermal cast alloy heating system and high-stability electromagnetic pump (15-bar system) will automate water flow, temperature, and frothing. When all lights illuminate and a beep sounds, your beverage is ready.
Expected Beverage Volumes & Profiles
- Single Espresso: 30–45g
- Double Espresso: 60–90g
- Americano: 140–160g
- Latte Coffee: 40–50g coffee + 150ml milk (Milk temp: 50°C–70°C, ideal for latte art)
- Cappuccino: 50–60g coffee + 150ml milk
5. Understanding Normal Operational Behaviors
 |
Wet Coffee Pucks or Standing WaterThis is closely tied to your grind adjustments. When you manually adjust the grind to be finer, it naturally causes a reduction in total output volume (fewer grounds come out). Because the coffee powder volume in the filter is lower and less dense, it leaves extra space for residual water to collect on top rather than being completely forced through by the 15-bar pressure release system. |
 |
Pro Tip to Fix Wet PucksIf you notice standing water or an overly wet puck after adjusting to a finer setting, simply press the grinding button again to add more coffee grounds. Filling the chamber completely will prevent water from pooling and solve the issue. |
 |
Tight Tamping LeverA tighter pull means the integrated manual tamping mechanism is successfully sealing tightly against the coffee bed for maximum extraction pressure. |
 |
Delay Before Milk FoamA minor delay before frothing begins is simply the internal thermoblock optimizing and ramping up to steam-level temperatures. |
6. Maintenance, Warnings & Descaling
1. Standard Warnings
Lower Tamping Lever Warning: Indicated when the lever is up or improperly pressed. Lower it fully.
Insufficient Water Warning: Flashes when the tank is low or empty. If this happens during extraction, the machine finishes the current cup before flashing.
2. How to Descale the Machine
When the cumulative water usage reaches approximately 15 liters, the descaling indicator light will turn on.
Fill the water tank with water and a descaling solution according to the descaler manufacturer's instructions.
While in standby mode, press and hold the "Espresso" and "Americano" buttons simultaneously for 5 seconds to launch the automated descaling cycle.
The process takes about 10 minutes and uses roughly 2 liters of water to flush both the coffee and milk lines.
Caution: Do not unplug or interrupt the cycle. If interrupted, the program will reset and must be restarted from the beginning.
3. Daily Cleaning
Brewing Unit: After each use, lift the tamping lever, pull the unit forward, turn it upside down, and press the top button to eject the coffee puck. Rinse it under running water, pressing the button to clean out hidden residue.
Grinder: Do not wash the bean hopper with water.
Milk System: After each use, thoroughly flush the milk container and rod with clean water to prevent milk fat buildup.
Factory Reset: To restore original settings, hold the Hot Water and Grinding buttons together for 3 seconds while in standby until a long beep sounds.


News

Sustaining Quality, Elevating Kitchens: The CIARRA Story So Far
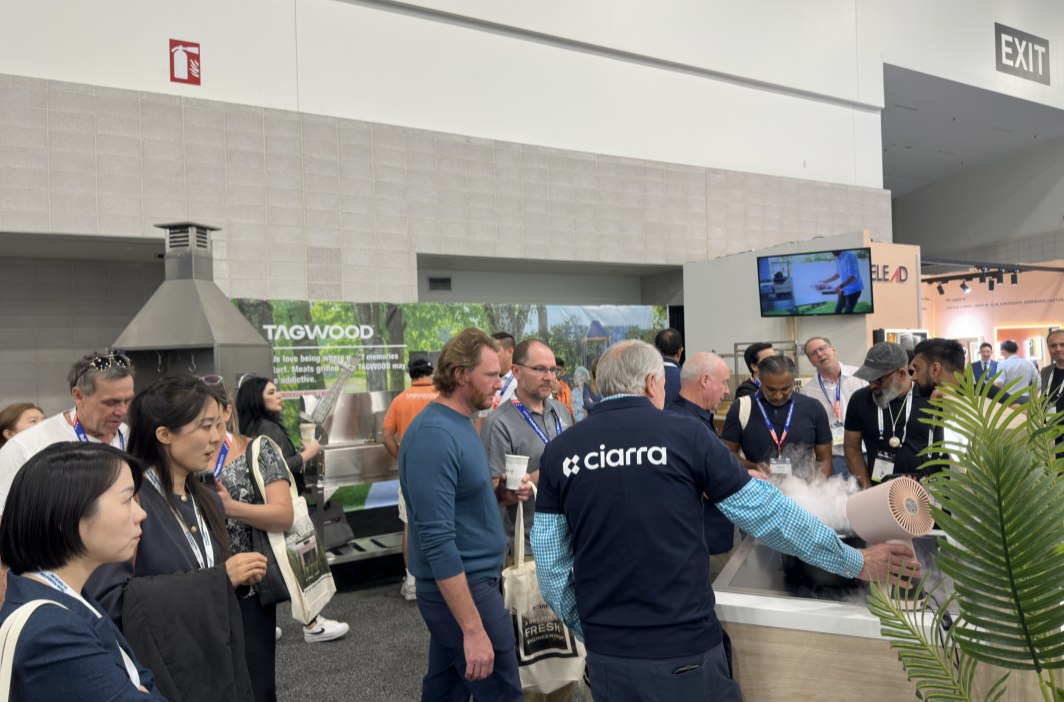
From IFA to KBIS: Ciarra’s Global Expansion and 8-Year Milestone

