Installing an integrated cooker hood (also known as a built-in or cabinet hood) can transform your kitchen into a sleek, modern space. However, it requires careful attention to detail. Because the unit is housed inside a cupboard or cabinet, precise measurements and structural stability are crucial. Below is a comprehensive step-by-step guide for installing your integrated cooker hood, along with common installation pitfalls and troubleshooting tips to ensure quiet and efficient operation.
1. Preparation and Safety
Before starting the installation, make sure you have all the necessary tools and are prepared for safety.
Tools Required:
- Jigsaw
- Drill with appropriate bits
- Screwdriver
- Tape measure
- Spirit level
- Pencil
- Aluminum tape (for ducting)
- Hose clamp (for duct connections)
Safety First:
- Electrical Safety: Always turn off the power at the mains before making any electrical connections.
- Ventilation: Ensure the room is well-ventilated during installation, especially if you are cutting or drilling into cabinetry.
- Note: Most integrated hoods are designed to fit into standard wall units (usually 60cm or 90cm wide), but the internal dimensions are critical. Double-check your hood’s specifications for the correct dimensions.
2. Step-by-Step Installation Guide
Step 1: Remove the Cabinet Door and Shelves
For clear access, remove the cabinet door and any internal shelves. This will give you the space you need to work without obstruction.
Step 2: Marking the Cutout
This is one of the most delicate parts of the installation process.
Template Method: Locate the paper template often provided with the hood. Tape it securely to the cabinet's base to mark the outline.
Manual Measurement: If no template is provided, measure the "insertable" part of the cooker hood accurately and draw a rectangle on the cabinet base. Be sure to center it perfectly.
Step 3: Cutting the Cabinet
Drill a hole at each corner of the drawn rectangle (large enough to fit the jigsaw blade).
Use a jigsaw to cut along the lines.
Sand down the rough edges for a smooth finish.
Step 4: Securing the Hood
Lift the cooker hood into the cutout. You may need a second person to help hold it in place.
Open the casing of the hood (removing the grease filters) to reveal the mounting holes.
Secure the hood to the solid wood of the cabinet using screws. Be sure not to overtighten, as this could crack the plastic housing; tighten the screws just enough to prevent vibration.
Step 5: Ducting and Power
Connect the ducting hose to the outlet on top of the hood and secure it using a hose clamp or duct tape.
Run the power cable to the nearest socket, which is typically located inside the cabinet or above it.
Step 6: Install the Filters
Grease Filters: If your cooker hood comes with metal grease filters, insert them into the designated slots, ensuring they are securely in place.
Activated Carbon Filters (for recirculating models): If your cooker hood is a recirculating model, insert the activated carbon filters into the designated space to help filter out odors.
Step 7: Test the Cooker Hood
Turn on the power, start the cooker hood, and test its functionality. Ensure that the fan operates at the correct speed, the lighting is working, and the noise level is within normal limits.
For ducted models: Check that the ducting is securely sealed, with no air leaks. Ensure the external vent is allowing airflow freely.
If you purchased a Ciarra integrated cooker hood, you can find the corresponding installation manual and videos based on the model.
Critical Installation Issues (The "Gotchas")
Many installation issues aren’t immediately obvious and can cause headaches later. Here are common problems and how to avoid them.
The Cutout Dimension Dilemma
Problem: If the cutout is 2-3mm too wide, the screws may not securely fasten the hood, causing it to sag. If the cutout is too small, the metal casing will buckle when forced in.
Solution: Always measure carefully before cutting. If the hole is cut too large, use wooden batons inside the cabinet to provide a secure mounting surface.
Power Supply Location
Problem: Sometimes, the power socket is too bulky or positioned behind the motor housing, which can prevent the hood from sitting flush against the wall.
Solution: Position the power outlet higher in the cabinet, away from the ducting and motor housing, to ensure a secure fit.
Ducting Size and Bends
Problem: Using a duct reducer to force a large outlet (e.g., 150mm) into a smaller wall vent (e.g., 100mm) creates back pressure, which reduces suction power and increases noise.
Solution: Avoid reducing the duct size significantly. Use a straight, rigid round duct wherever possible, and avoid 90-degree bends to ensure optimal airflow.
Installation Height Above the Cooktop
Problem: If the cooker hood is installed too high or too low above the cooktop, it can significantly affect its performance and efficiency.
If installed too high: The hood may not capture enough smoke, grease, or steam, as the air circulation will be too weak to pull the fumes up effectively. This reduces the hood's suction power and can cause lingering smells and excess heat in the kitchen.
If installed too low: The hood may block your cooking space, making it uncomfortable to use the stove, especially when cooking with taller pots and pans. It may also cause increased noise levels and reduced airflow.
Solution: The recommended installation height is typically around 65-75 cm above a gas stove and 55-65 cm above an induction cooktop. Always refer to the manufacturer’s guide to ensure the correct installation height for optimal performance and safety.

Common Faults & Troubleshooting
Even with a well-installed hood, you might encounter some issues. Here are the most common complaints and how to fix them.
Problem A: Excessive Noise and Vibration
Cause 1: Loose Fixings – If the hood isn’t securely fastened to the cabinet, the entire cabinet can act as a resonating box, amplifying the motor's vibrations.
Cause 2: Lack of Padding – Friction between the metal hood and the wooden cabinet can cause rattling.
Fix: Apply foam tape or rubber washers between the hood and the cabinet before tightening the screws. This dampens vibrations and reduces noise.
Problem B: The "Clacking" Sound
Cause: A stuck or blocked non-return valve (the plastic flaps at the motor outlet) can create a clacking sound when the motor is running.
Fix: Check that the ducting isn’t putting excessive pressure on the valve, which could prevent the flaps from opening and closing smoothly. Ensure that the duct isn’t too vertical, as debris can fall back and hit the fan.
Problem C: Poor Suction (Paper Test Fails)
Cause 1: If the kitchen is too airtight, or the recirculation mode is set incorrectly, the hood may not perform properly.
Fix:
Vented Mode: Open a window slightly to allow for air replacement.
Recirculation Mode: Install or replace the charcoal filters. If these are old or saturated, suction can drop significantly.
Problem D: Lights Work, Fan Doesn't (or Hums)
Cause: A seized motor or failed capacitor could cause the fan to hum without spinning.
Fix: If the fan blades spin freely by hand but the motor just hums, the start capacitor likely needs replacing. This is a common electrical repair.
Conclusion
To ensure optimal performance and longevity of your integrated cooker hood, attention to detail during installation is key. By focusing on proper ventilation, securing the unit firmly, and maintaining the filters, you can prevent common issues such as noise, poor suction, and inefficient operation. Always follow the manufacturer's guidelines for installation height, ducting, and electrical connections, and perform regular maintenance to keep the hood running efficiently. Addressing these factors will guarantee a quieter, more effective appliance that enhances your cooking experience for years to come.
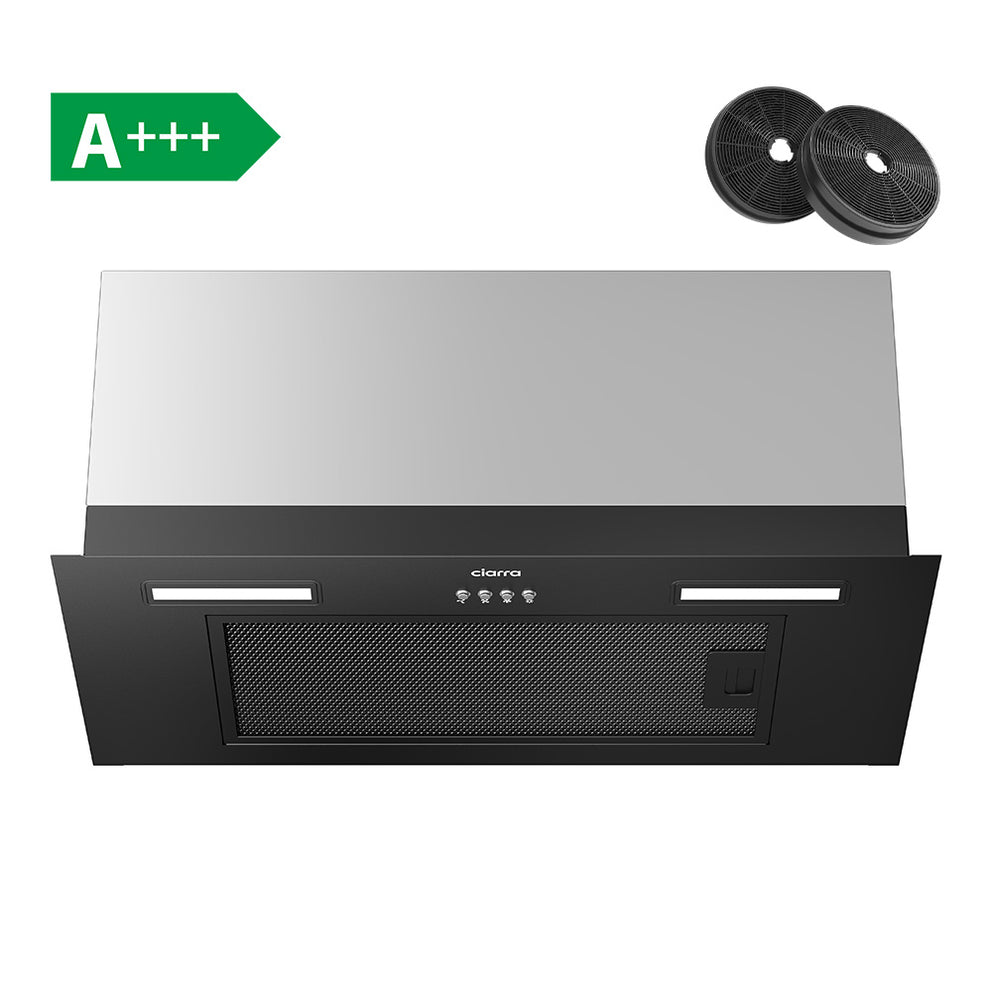
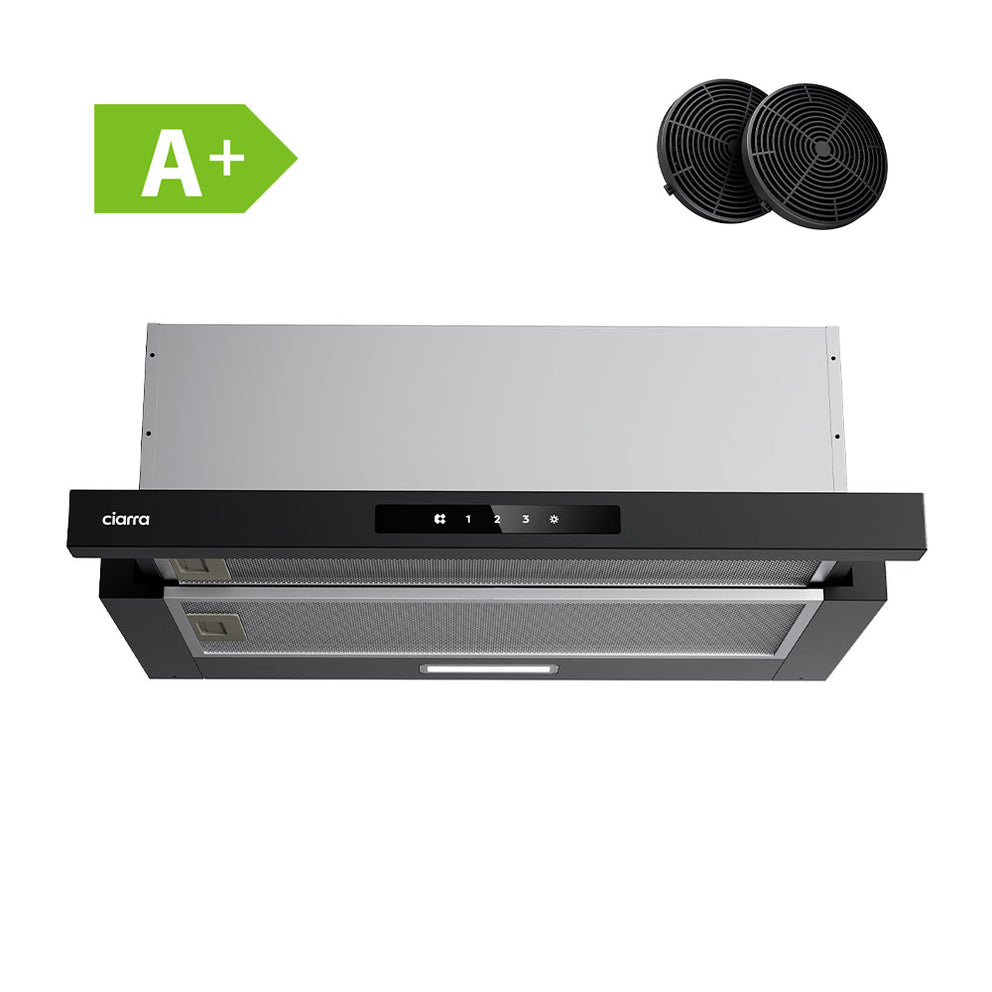
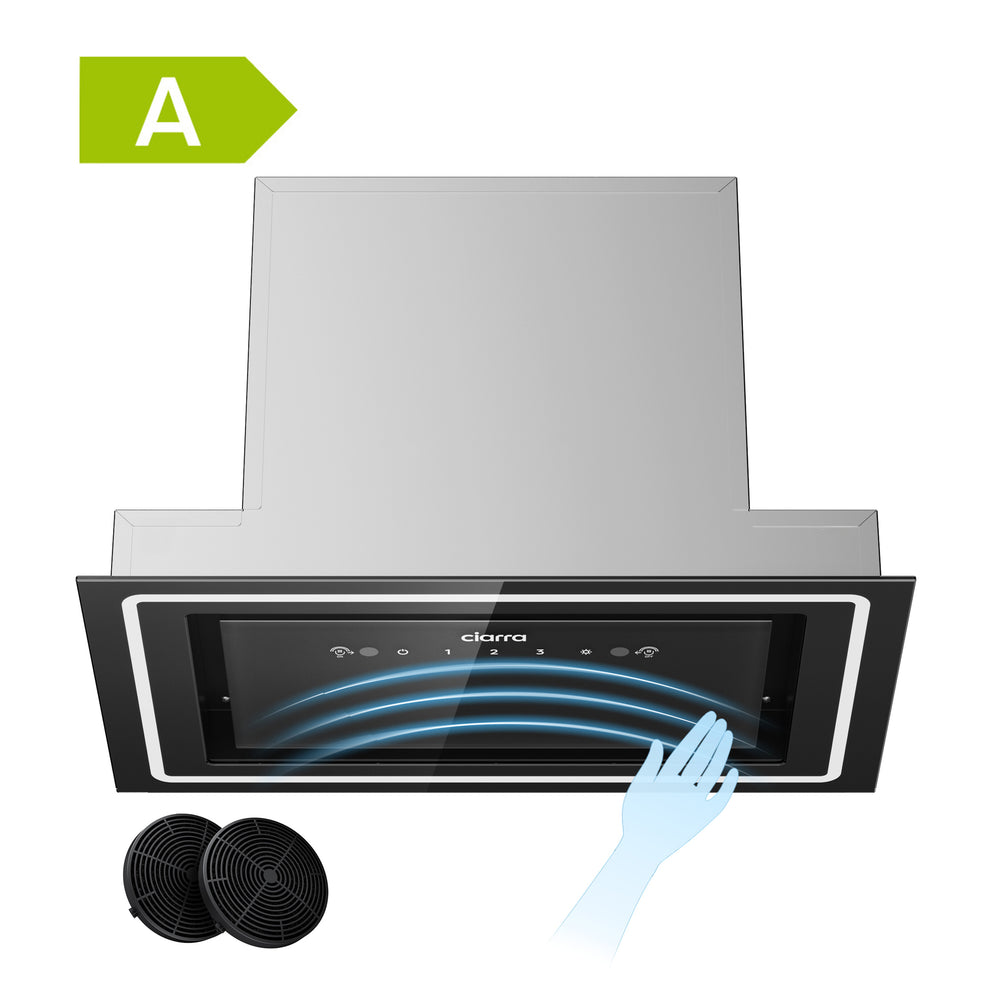
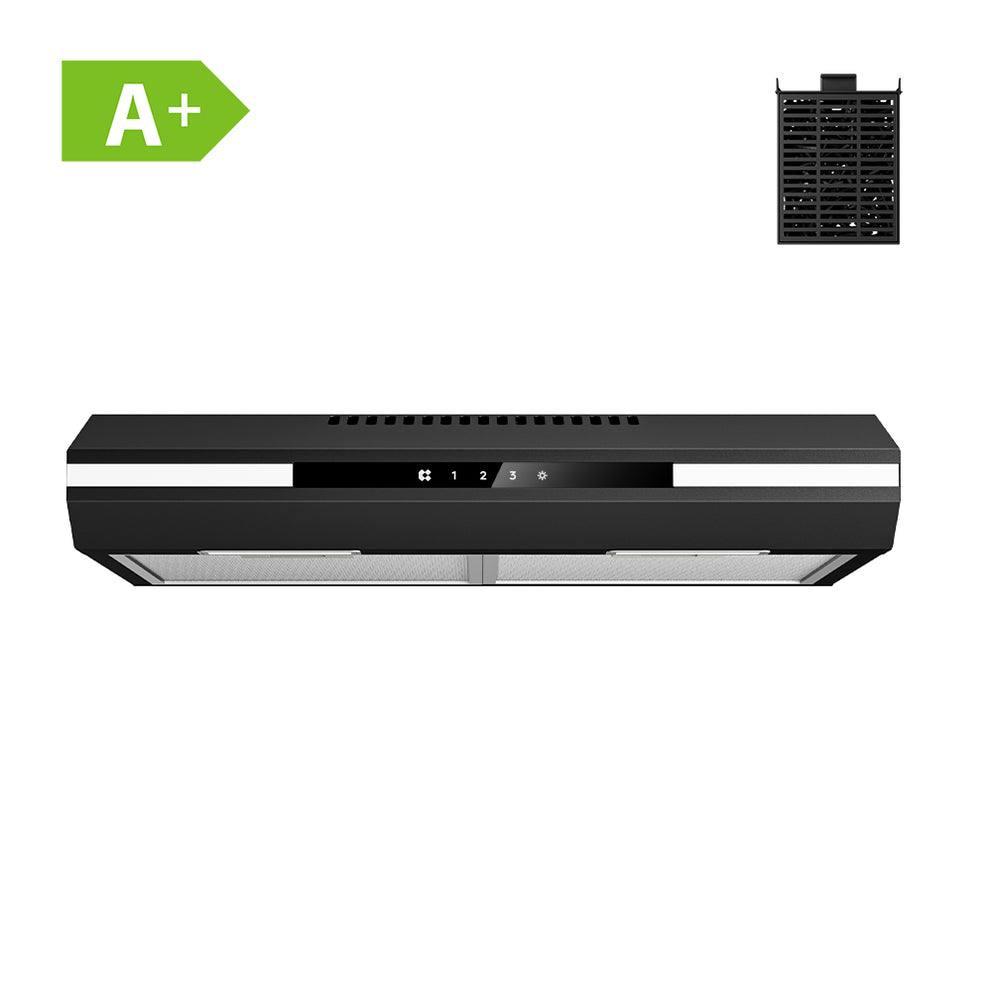
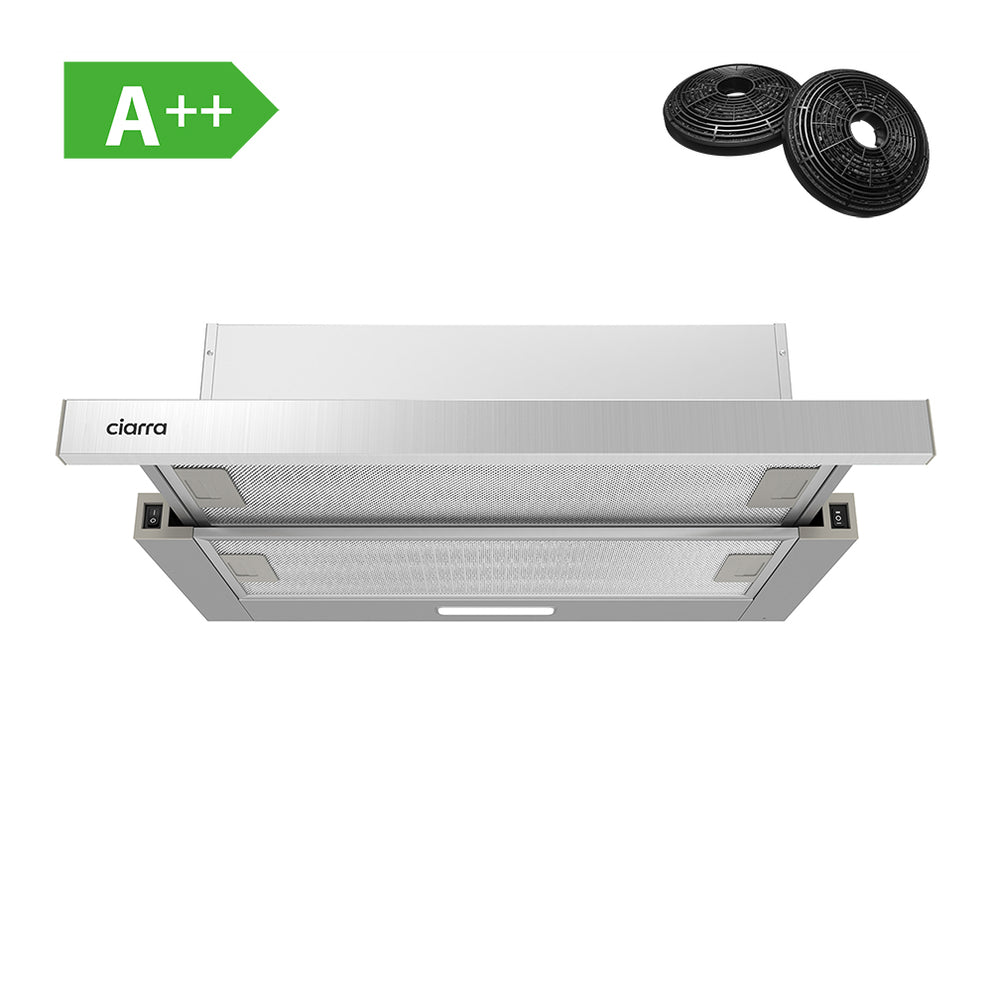
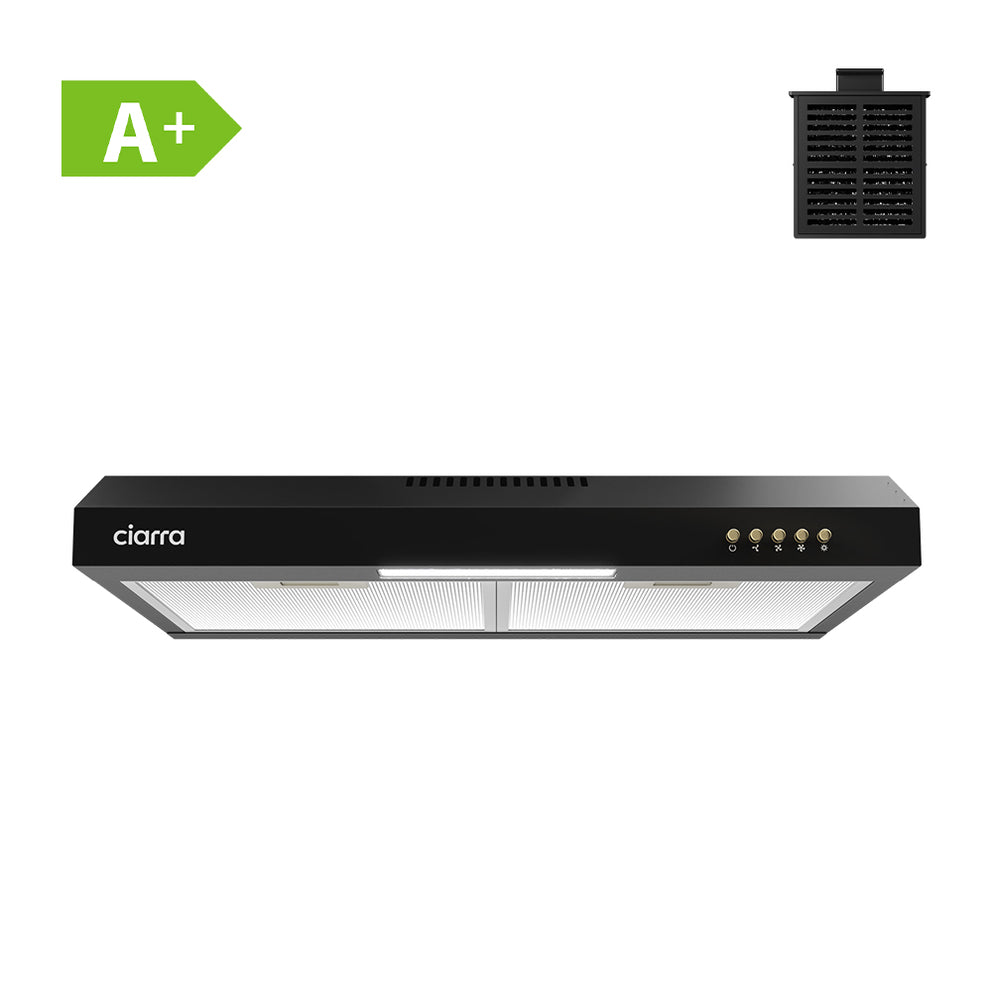
Explore CIARRA® Integrated Cooker Hoods
Clearing the air so you can sear, simmer, and flambé is a must for any adventurous cook. That’s why CIARRA® integrated cooker hoods are built to fit any kitchen space, offering a range of high-performance models. Breathe new life into your kitchen with an integrated cooker hood designed to meet your cooking needs and elevate your culinary experience.
News

Tiny Kitchen Essential: Powerful Portable Extractor Fan

Hard vs Soft Water


Bemerkungen
Es gibt noch keine Kommentare.