A cooker hood, also known as a range hood or extractor hood, is an essential kitchen appliance that helps remove cooking odors, smoke, and grease from your kitchen, ensuring a clean and pleasant cooking environment. If you've chosen a 90cm cooker hood for your kitchen, you're on the right track to effective ventilation. In this step-by-step guide, we'll walk you through the process of installing a 90cm cooker hood.
Before You Begin:
Before diving into the installation process, make sure you have the following tools and materials ready:
90cm Cooker Hood: Ensure you have the cooker hood unit itself, complete with all necessary components.
Ducting Kit: Depending on your installation type, you may need a ducting kit for external ventilation or a recirculation kit for internal circulation.
Screws and Wall Plugs: To securely mount the cooker hood.
Drill and Screwdriver: For making holes and attaching screws.
Tape Measure: For accurate measurements.
Spirit Level: To ensure your cooker hood is level during installation.
Electrical Screwdriver: For electrical connections.
Safety Equipment: Safety glasses and gloves are recommended.
Installation Steps:
Turn Off Power: Safety first! Before you begin any installation work, turn off the power to the area where you'll be working. Locate the circuit breaker or fuse box and switch off the appropriate circuit.
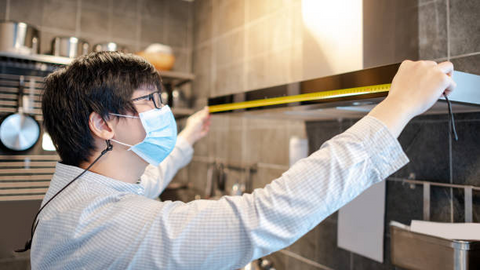
Measure and Mark: Use a tape measure and pencil to mark the exact position where you want to install your 90cm cooker hood. Ensure it is centered over your cooktop or stove.
Check Ceiling and Wall: If you plan to duct the hood to the outside, check the ceiling or wall for any obstacles like electrical wires or pipes. Make sure the installation area is clear.
Mounting Bracket: Most cooker hoods come with a mounting bracket that needs to be installed on the wall. Use a spirit level to ensure it is perfectly level. Drill holes for wall plugs, insert plugs, and secure the bracket with screws.
Install the Hood: With the help of another person, carefully lift the cooker hood and hang it on the mounting bracket. Most hoods have keyhole slots that allow you to adjust the position. Ensure it's level, and then tighten any screws to secure it in place.
Ducting: Depending on your kitchen setup and whether you're ducting externally or recirculating internally, you'll need to install the appropriate ducting kit. Follow the manufacturer's instructions for this step carefully.
Electrical Connections: If your cooker hood has a built-in lighting system or needs to be connected to the power supply, consult the user manual for specific instructions. Typically, this involves connecting the hood's wiring to your kitchen's electrical circuit. If you're not comfortable with electrical work, consider hiring a professional.
Test the Hood: After the installation is complete, turn the power back on and test the cooker hood to ensure it's functioning correctly. Check the fan, lights, and any other features.
Final Adjustments: Make any final adjustments to the position of the cooker hood to ensure it's centered over your cooktop. Tighten all screws securely.
Clean Up: Remove any packaging materials, tools, and debris from the installation area. Clean the cooker hood's surface to remove any fingerprints or smudges.
User Manual: Keep the user manual in a safe place for future reference. It contains valuable information on maintenance and troubleshooting.
Maintenance Tips:
Once your 90cm cooker hood is installed and operational, it's essential to maintain it for optimal performance. Here are some maintenance tips:
Regular Cleaning: Clean the cooker hood's filters regularly to prevent grease buildup. Some filters are dishwasher-safe for easy cleaning.
Replace Filters: If your cooker hood uses charcoal filters for recirculation, replace them as recommended by the manufacturer.
Check Ducting: If you have an externally ducted system, periodically check the ducting for any obstructions or blockages.
Inspect Wiring: Periodically inspect the electrical wiring and connections to ensure they are secure and in good condition.
Replace Bulbs: If your cooker hood has lights, replace any burnt-out bulbs promptly.
Installing a 90cm cooker hood can greatly enhance the functionality and cleanliness of your kitchen. By following these installation steps and maintaining your hood properly, you'll enjoy efficient ventilation and a more enjoyable cooking experience. If you're not confident in your DIY skills, consider hiring a professional installer to ensure a safe and reliable installation.
News
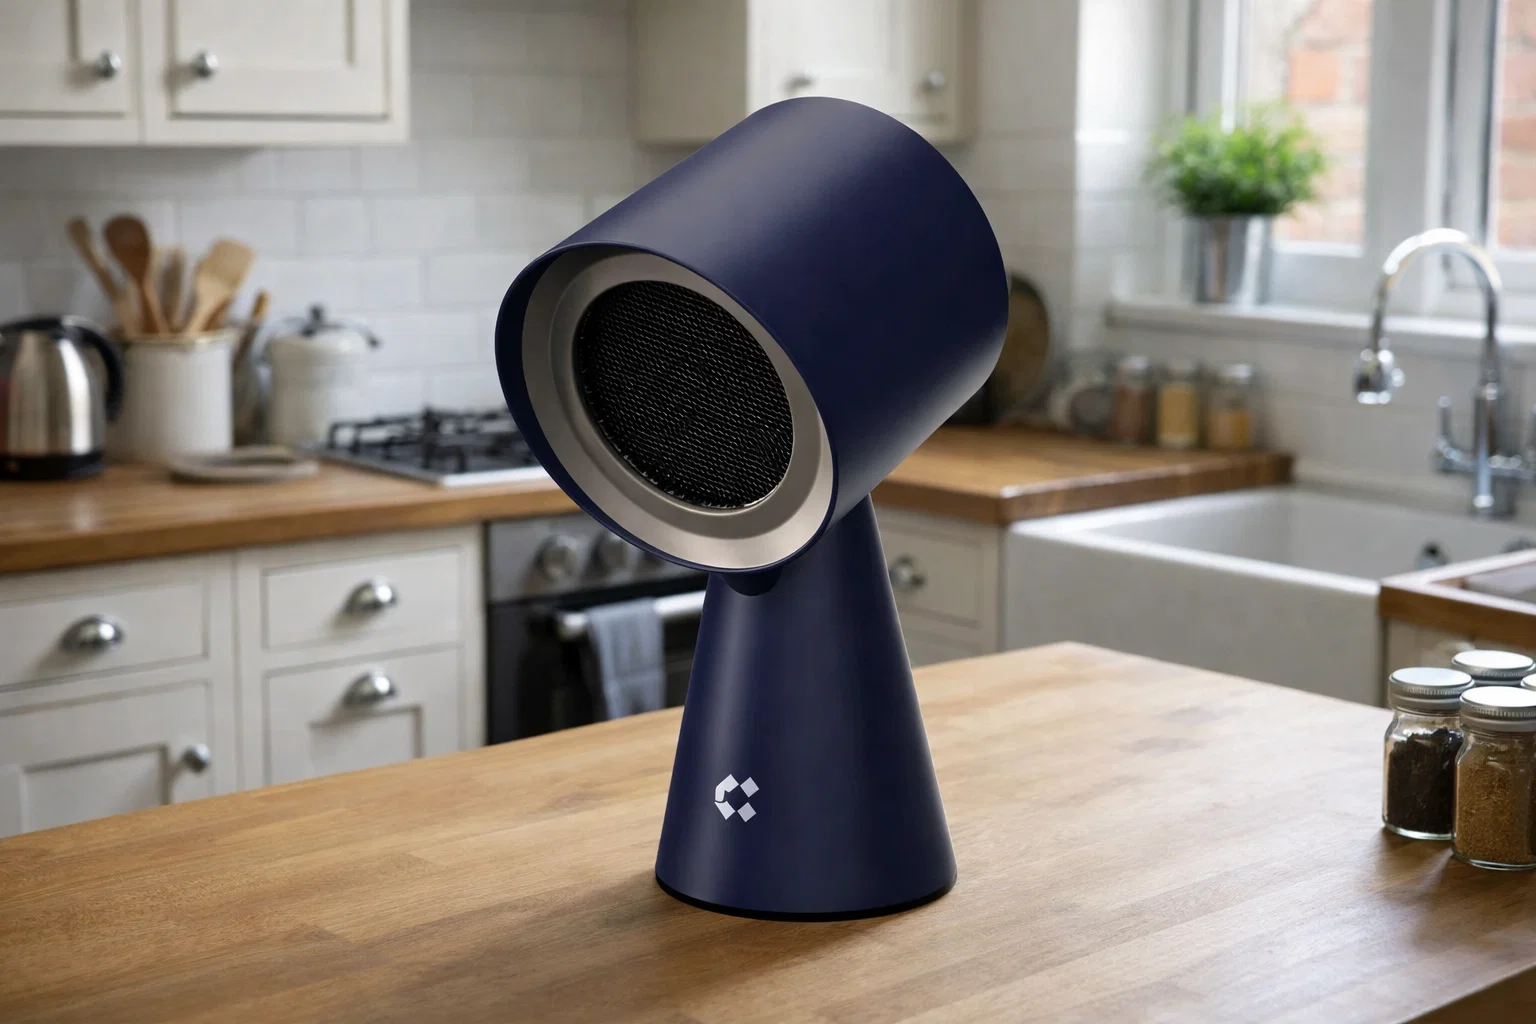
Tiny Kitchen Essential: Powerful Portable Extractor Fan

Hard vs Soft Water


Comments
There are no comments yet.